How to create a Stock Movement

If you’re using a Bemakers warehouse, this guide will show you how to create a stock movement directly from the platform.
Important Note:
This feature is only for Bemakers warehouses. If you’re using your own warehouse, you can manually add inventory to products. here.
Let's get started!
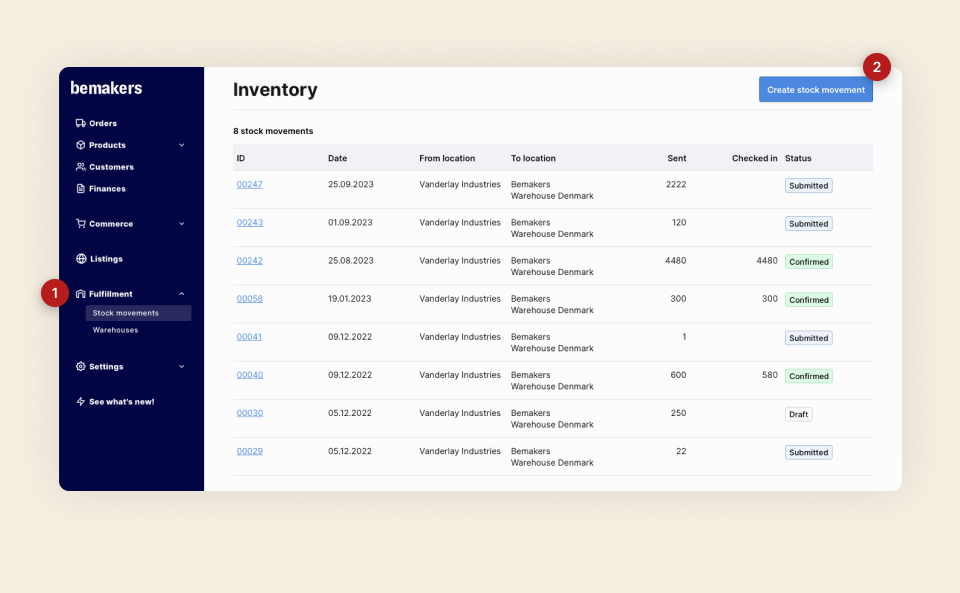
- Go to Fulfillment
- Click on the Stock movements option
- Click on Create stock movement in the top right corner
You’ll now see the first step: Shipment details.
Fill in Shipment Details
On this page, you’ll provide key information about your shipment:
-
Date – Specify the date the shipment will be sent.
-
Expected arrival date – Optional field. Add if you know when the products will reach the warehouse.
-
Where are you shipping from? – Select the warehouse.
-
If you choose one of your connected warehouses, the country will be pre-filled.
-
If you choose Other warehouse, you’ll need to manually select the country from where products will be shipped from
-
-
Where are you shipping to? – Select the warehouse you’re sending goods to. The country will be automatically filled.
Note: If your ship from non EU country you can select on what warehouse products needs to be stored on Customs/Bonded Warehouse, import duties and taxes are suspended until goods are released. Select Tax Warehouse only if you plan to pay import duties and taxes on all products once they shipped
-
ARC Number (Administrative Reference Code) – for shipments between European countries (excluding within DK), it is mandatory to provide the ARC number, a unique Administrative Reference Code, for stock movement. If your shipment falls under this category, ensure to include the ARC number. However, for shipments outside of this scope, the ARC number is not a required field and can be omitted.
-
Upload eAD (electronic Administrative Document) – when shipping between European countries (excluding within DK), it is essential to upload the electronic Administrative Document (eAD) generated for the movement. This step ensures swift and accurate product registration upon arrival at the warehouse.
-
Carrier – Choose the carrier handling the shipment.
-
Tracking ID – Add the ID from your shipping label. If your carrier isn’t listed, choose Other and type the name.
-
Pallets in shipment – Indicate how many pallets the warehouse should expect. It is crucial information for the warehouse so please provide the truthful information
-
Message to warehouse – (optional) Add any special notes.
Click Continue to move to the next step.
Add Items & Costs
On the Items & Costs page, you’ll add all products included in the shipment.
-
Add product – Search and select the product.
-
Batch – Provide the batch number.
-
Expiry date – Must match the label. If the product has no expiry date, select Product does not expire.
-
Note: Products expiring in less than 6 months cannot be sold via Bemakers Trade.
-
-
Quantity – Enter the number of units in the shipment.
-
Cost price per unit – Pre-filled based on product cost price and can be changed for items on this stock movement, if needed.
Repeat this step for each product.
If shipping to the Bemakers German warehouse, you’ll also need to provide:
-
Box dimensions.
-
Number of products per box.
At the bottom, you’ll see the total quantity and cost of your shipment..
You can also add shared costs that apply to the whole shipment (for example, transport or insurance fees).
-
Click Add shared cost.
-
Select the cost type.
-
Enter the total cost amount.
The system will automatically distribute this shared cost proportionally across all products in the stock movement.
Saving and Submitting
-
You can Save as draft at any time during the process and return later to complete it.
-
Once you are ready, click Submit. The warehouse will then be notified about the incoming goods. Please make sure that all products are added and all information is correct.